Aegis Solo 2 is an updated version over the original Solo, by GeekVape. It is a new addition to the Aegis line. It is also known as S 100. There is a whole bunch of things that they have done with this device. It is durable, hardy, shock-proof, water-proof and dust-proof. More importantly, it does a good job at doing exactly what it’s supposed to. Solo 2 is the newest version of the Solo.
The designers intended the original Solo to be a single battery device, a miniaturized version of the original Aegis Legend. It did really well for a lot of people that didn’t want a bigger bulky device. It really satisfied and suited them. However, the original Solo was a little bit underpowered and it’s a little bit old now. So they have revised it. They have added all the new features that the entire line is getting. Moreover, they have made it a little bit more powerful. The Aegis Solo 2 has 100 Watts of output, it’s still a single battery, it’s still small and comfortable but it actually works really well.
Inside the Box
The Solo 2 comes in a simple yet beautiful box. Inside the package you will find a user manual, a Type-C charging/connecting cable, spare coil (double mesh), spare bubble glass, bath salts and sub ohm Z tank. The spare coil provided in the kit is 45-57 Watt Kanthal 0.25 Ohm dual mesh coil. The coil pre-installed is a 70 to 80 Watt Kanthal 0.2 Ohm mesh coil. Both coils are from the Z series coils.
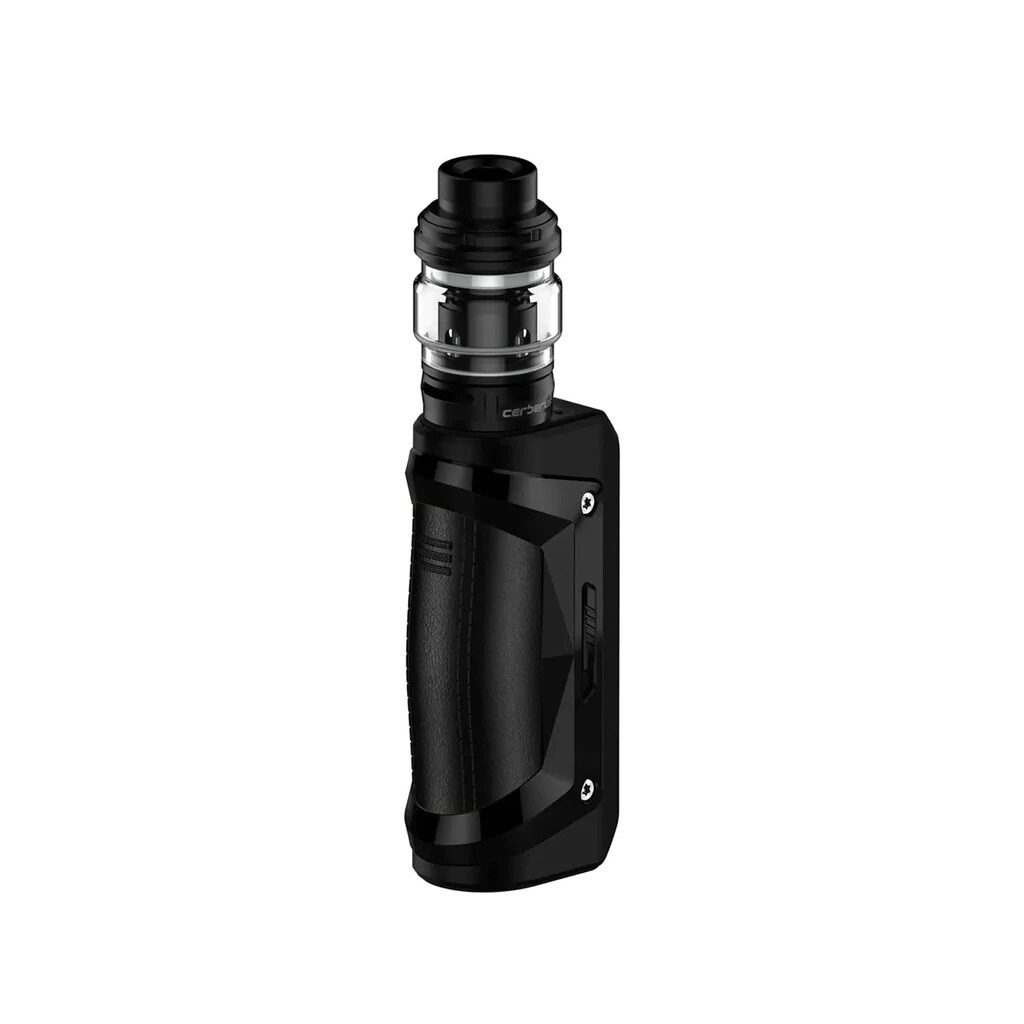
Sub-Ohm Z Tank, 810 Drip Tip and 510 Connection
The Z tank is 23 mm in diameter at the very base then it does bulge out. It holds 5 ml of e-liquid. It does have top airflow that goes down through an outer chamber and then up through the center of your coil. At the top it has an 810 drip tip, you could use your own 810s on that if you wanted to. It does have airflow control up top, having two slots for adjustments. On the base it says Geekvape Z Sub Ohm tank 2021. It has a gold plated 510 pin for connecting to the mod.
Everything with Coils
To get to your coil head, unscrew the base counter-clockwise. These coils use a press-fit design, allowing for easy removal. The coil that’s pre-installed is the Geekvape Z series. The pre-installed coil utilizes Kanthal mesh and boasts a resistance of 0.2 ohms, ideal for a wattage range of 70 to 80 watts. This kit also includes a 0.25-ohm dual mesh coil, ideal for a range of 45 to 57 watts.
Priming the coil
Priming the coil is essential for better performance. Moreover, priming is simple: hold the coil sideways and drip a few drops of e-liquid directly onto the coil, just like you would prime any other coil or wick. After priming, put your coil in the pod by lining those tabs up with the slots in the pod, push it in so that it sits properly. Then screw the base in.
Filling the Pod/Tank of Geekvape Aegis Solo 2
To fill the pod, just turn the top for about a quarter, pop up and you can fill it through any of the two slots provided. You will notice that the filling slots are big enough to get your bottle tip inside easily. When done with filling, close the top by putting drip tip part back on and rotate to previous position.
Spring Loaded Gold-Plated 510 Pin
The top features a spring-loaded, gold-plated 510 pin. The threading cut into the entire cap piece creates a very solid design. Up to a 25 mm will look good on this, 26 might be able to get-away with but just keep in mind that you will have a slight overhang with anything bigger than that.
Turning the Geekvape Aegis Solo 2 Device On – Display Info
To power the device on, click the fire button 5 times, it will say Geek vape in color and then it will go right to your display showing; power, battery indicator, wattage, resistance (it’s going to be in Amps), Voltage, puff counter. When you do press the fire button it turns into a how many seconds you press the fire button. On the side of the mod you are going to see a little sliding button, you can lock or unlock the device with this button. You will see a lock on the screen when it is locked, it is an amazing feature of this device.
Various Modes and Shortcuts of the Geekvape Aegis Solo 2 Device
Click the fire button three times and you are going to have your bypass mode, VPC mode, TC nickel, Titanium and Stainless steel. You also have your TCR. Back into power, press the fire button, it highlights resistance because you could lock it in Temperature control, press it again, you have your puff counter there and you could delete your puffs or reset it.
Brightness Adjustment
There are two up and down buttons below the screen. By pressing the power button and down button together, you can decrease the brightness or you can increase it by pressing the power and up button simultaneously.
Overall Built Features of Geekvape Aegis Solo 2
This mod is IP 68 rated. They call it their tri proof tech, waterproof, shockproof and dustproof, last version was IP 67. It is made out of Zinc alloy. You get the frame part that feels like plastic and you have a cushioned panel on back side which feels very nice with pleather. Then you have some rubberized elements i-e on the base of the mod and then up top around the 510 connection but less rubber than on the original Aegis line. It has the same locking mechanism as the Legend 2 and M100 have on the side.
Solo 2 vs The Aegis
If you put it next to the Aegis, as both take the same 18650 battery, you will notice that the Solo 2 is a little bit smaller than the Aegis. You get a bigger atomizer on the original Aegis than this new device. Geek Vape named the new device S100, differentiating it from the original Aegis. The S 100 is also tri-proof which is shock-proof, water-proof and dust-proof, IP 68 rated. You could see, with the Aegis the battery door sits beneath the surrounding rubber part that’s something which is preferred by many users, while with S 100 the battery door needs some tight turning to properly sit in its place.
Battery and Charging
On the bottom of the device it has the battery door. The Solo 2 takes a single 18650 battery. To open the battery cap, stick your finger inside, pop the latch up and turn. You might find it a bit stiff while turning, it has an O ring around the inner side of the battery cap, making it dustproof and waterproof. Inside the battery space you are going to see Positive down, put the battery accordingly with the positive side down. Grab the cap, screw it on and tight well. It is recommended to use external charger for charging the battery. Fully charged battery could last around 4 to 6 hours depending upon usage.
Some Interesting Features of The S 100
The tank is a nice one, having the top airflow, coils are great and overall vaping experience is really nice. It has got an 810 drip tip on it, quarter turn is another awesome feature and 5 ml of e-liquid capacity is just like sugar on top. The mod looks nice and it’s comfortable in the hand. The display is nice and vibrant. It does fire right away, there is no delay in it which is another pro of this device. Just like the M 100 and the Aegis Legend 2, the S 100 has the switch on the side where you could lock the device or unlock it, you don’t have to click it five times on – 5 times off, nothing pressing buttons or anything, that’s definitely going to be a pro.
Various Colors of Solo 2
Solo 2 comes in 11 beautiful colors including Silver, Grey, Classic Black, Navy Blue, Red, Blue Red, PSG Edition, Mint Green, Rainbow, Pink Gold and Rainbow Purple.
